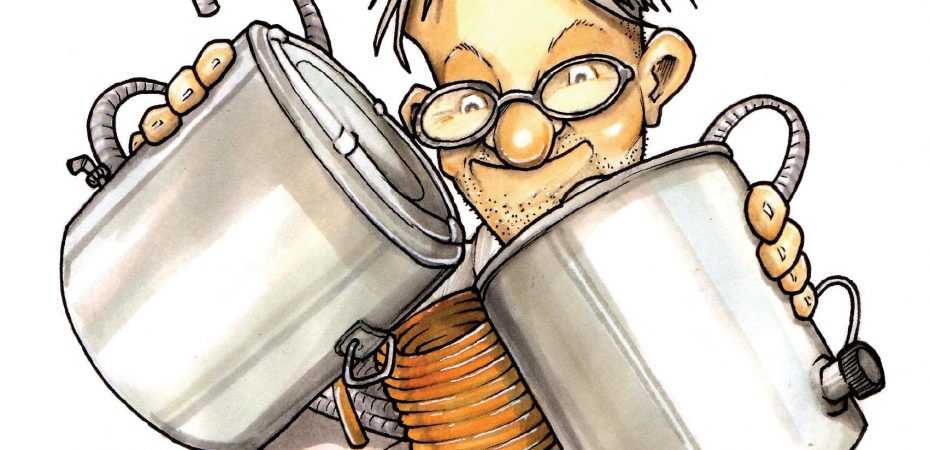
Ron Allison looks at the basic equipment needed for full mash brewing at home
For the homebrewer, possessing the finest possible equipment does not, in itself, produce good beer. Of course it will make life a lot easier if you use the right kit, but this needn’t involve spending lots of money. It is possible to make some of the equipment that you will require yourself, or buy it from an auction site such as eBay. The best thing is to start simply and upgrade when you can.
To get you started, here’s what you’ll need:
THE BOILER
The starting point in brewing is producing hot water, known as liquor, for the mashing process. Thus, you will need something to heat relatively large quantities of water in. If your standard batch length is around 25 litres, then ideally your hot liquor tank should hold at least 30L. If it holds less then you will have to top it up with water from one or more saucepans, and this could be hazardous. You will also need hot water, usually from the same boiler, when you sparge.
Suitable boilers are commercially available. Many brewers use a food-grade plastic bucket fitted with a tap at the bottom and an electric heating element. Others use stainless steel boilers that are widely available.
THE MASH TUN
Most craft brewers today use an insulated container although older books advocate a boiler fitted with a thermostatic control. Modern mash tuns suitable for use in small scale brewing are made either of plastic or stainless steel. The plastic ‘picnic box’ variety are usually rectangular in shape and fitted with a copper manifold, that acts as a filter, and a tap. The stainless steel types are round.
The filter in the bottom may be copper, plastic, or stainless steel.
THE SPARGE
Hot water needs to be run through the mash tun to extract the soluble sugars left after the mashing process. Rotating arms are widely used but it is possible to use a simple watering can although this is laborious and, unless you are very skilled, may produce poor results.
THE COPPER
After the wort has been collected from the mash tun it must be boiled with hops in a suitable container. This is usually known as the copper or kettle. Again, the basic choice is either a plastic container, fitted with a heating element, filter and tap, or a stainless steel device that is heated underneath by a gas burner.
COOLING DEVICES
Although it is possible to brew very good beer without going through a cold break, this process should help you to consistently make clear beer without some of the faults that could occur. The cold break happens when you cool down the hot wort as quickly as possible. Older books used to suggest lifting your container of hot wort into a bath of cold water, don’t do it! This is ineffecient and potentially dangerous.
To cool down the wort quickly you either pump it through a special piece of equipment that has cold water separately circulating within, or circulate cold water through a coil (usually copper) that is immersed in the wort.
THE FERMENTER
The final stage in the brewing process is fermenting the wort with yeast. A simple, food-grade plastic bucket is widely used but I use a large stainless steel stock pot. It is also possible to buy specialist conical fermenters. However, even the cheaper models are relatively expensive and at the top end you will be spending serious money.
THE SIPHON
There is no need to have a tap on your fermenting vessel as usually the green beer is siphoned out. Mine is in three parts. The bottom end has a device for preventing spent yeast being sucked up. This is connected to a flexible plastic tube and this fits on to a simple gravity device that acts as an on-off tap.
Article is from Beers of the World Magazine Issue 25